
 November 16, 2018
Why would you want to delete files in the Finder from FileMaker Pro? I had a request to build a simple document management system using a Fujitsu scanner to bring PDF files into FileMaker. I have talked about some of the issues with scanners and FileMaker in a previous blog post, — there is no really great way to have the scanner files go straight to FileMaker Pro, so my idea was to keep things relatively simple and have the user scan to a set folder on their computer and then run a FileMaker script to import from a that folder location. Once the files are imported into FileMaker, the files are removed from the user’s ‘Scanner Document’ folder on the Desktop of their computer.
This is a fairly simple technique using only standard FileMaker Pro capabilities, without the use of plugins or AppleScript to delete files from anywhere on your computer.
This is a powerful technique, so please use it with caution.
NOTICE – when the demo file runs, if you are using FileMaker Pro 17 or higher, it will offer to export a folder and files to your desktop.
Not Invented Here

This is not a new technique, it has been mentioned in forums, and at FileMaker DevCons in the past.
Simple Document Management Example

When you first open the demo file, if you have FileMaker 17 or higher, with the ability to create folders, it will create the Scanner Documents folder with some sample PDF files in it. This will allow you to experiment with importing the PDFs. If you are using a version earlier that FileMaker Pro 17, then you will need to create your own folder and populate it with some PDFs for experimenting purposes.
Import Routine
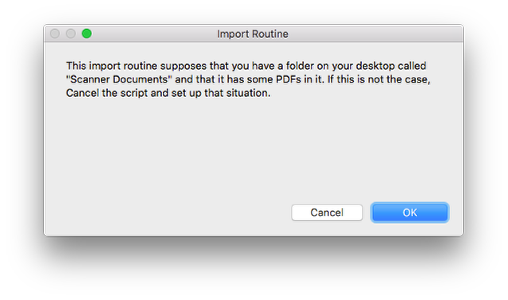
If you are not using FileMaker 17 or greater, then create a folder on your desktop with the name Scanner Documents and put some PDFs in it to import.
Desktop Folder: Scanner Documents
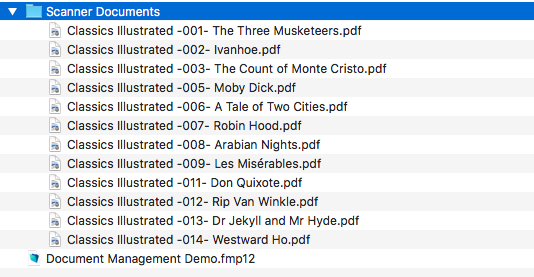
The Scanner Documents folder on the Desktop. These are the files to be imported.
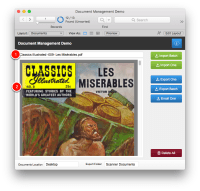
Imported Files

A batch of PDFs have been imported into FileMaker. Note that we have both the 1) file name and the 2) PDF file.
Documents Imported, Offer to Delete Documents from Desktop Folder

Once the files are imported, you will see this message indicating how many files have been imported. There is also a message offering to delete the files from the Scanner Documents folder. Note that the script will only delete files that it has names for, specifically those that have been imported.
Deleting Files from a Folder on your Computer – How it Works

Once we have the files imported, we know each files name and its location. The secret to deleting files on your computer is to know the path and exact file name and then use the function ‘Export Field Contents’ without specifying any field. Note that we are setting a file name from the File Name field.
Path and File Name specified

In the early part of the script, we set the Path variable and then in the loop we go through each record and get the FileName variable.
Check the Documents Folder – all imported files are deleted from the Finder
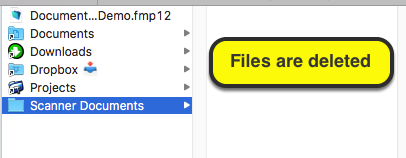
That’s it. Hope this is useful. Again, use with caution.


Trackbacks/Pingbacks
[…] we are using the FileMaker 17 ability to create a directory to place a file and then using an older FileMaker ability to delete the small test file right after it is created by Exporting Field Contents again, but this time, not […]