

 July 1, 2019
With Apple phasing out 32-bit applications in the next macOS (Fall 2019), a number of important applications will stop working. One of the most notable and useful is Apple’s QuickTime 7 Player. Although Apple has supposedly replaced this great utility with QuickTime Player X, in fact, a number of useful functions will be lost. Hopefully the new operating system will also bring back some of the editing functions in QuickTime 7 Player.
(Here is a Macworld article on how to find other 32-bit apps on your Macintosh that will be losing support in the next version of macOS.)
In versions of macOS after macOS Mojave, the QuickTime 7 framework will no longer be available, so incompatible formats won’t be supported in programs like iMovie, Final Cut Pro, Motion and Compressor.
Also going away will be support for a number of codecs, the compression algorithms that underlie the video files on your computer. Affected codecs include:
• Cinepak
• DivX
• Sorenson Video
A full list of potentially effected codecs is here. Check with the codec developer, as some of them will be updating support for 64-bit versions.
Here is how to search for these files and while you still are able to, open and export them to another format.
How to Find Files by Codec on Mac OS
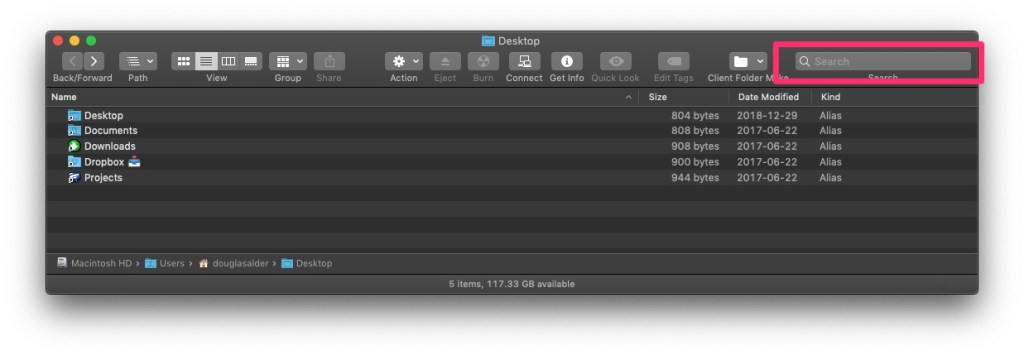
Start by opening a Finder Window and entering a search. Command N, will open a new Finder window. If the window is wide enough, you should see a Search box in the top right of the window. If not, stretch your window wider until you see a place to enter text. Enter a search there, for something like ‘Cinepak’.
Advanced Search
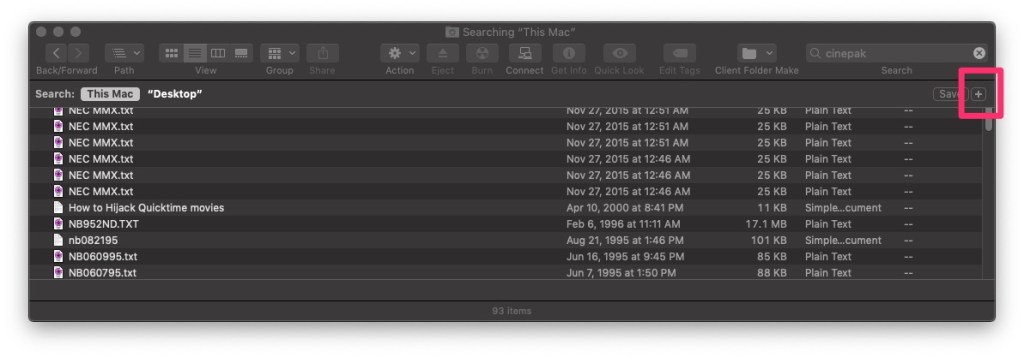
This initial search may bring you what you want, but in my case it brought up a number of text files that mention the word ‘Cinepak’. To refine the search, click on the small plus sign that is immediately below the Search box.
Advanced Search – Building a Query
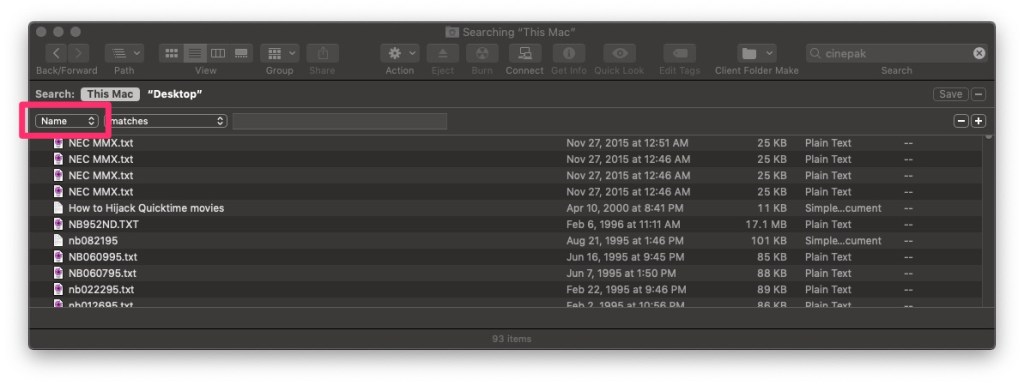
Now in Advanced Search mode, you should see a line at the top of your search that allows you to add more detailed queries. If you click on the popup menu at the left of the screen, you will see a short list of file characteristics on which you can search.
Other… Search Options.
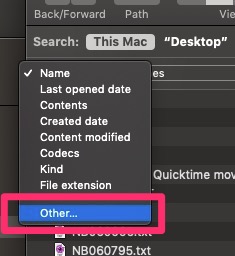
Selecting the ‘Other…’ option brings up a much larger list of options to search on.
Look for Codecs

As you scroll down, you should see an option for searching on ‘Codecs’. Clicking the checkbox on the right and then clicking ‘OK’ at the bottom, will add the ability to search on Codecs to the short list we saw on the previous popup.
Refine your search
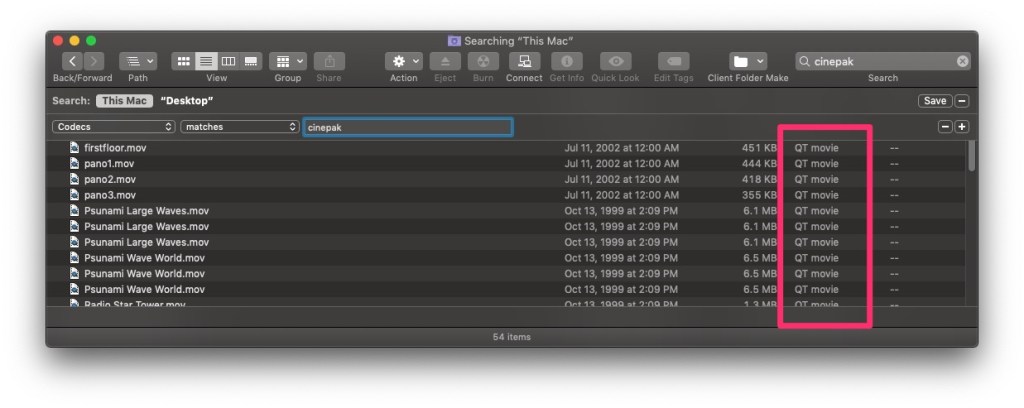
With ‘Codecs’ selected as your search criteria, enter ‘Cinepak’ or other codec and you will get a shorter list of primarily QuickTime files.
Converting Video Files to a New Format
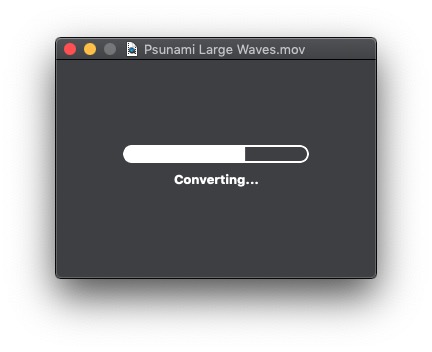
Open the File in QuickTime Player X. Once you have located some files that you wish to keep active, open them. You will probably see a conversion screen when they are opened.
Converted File Opened
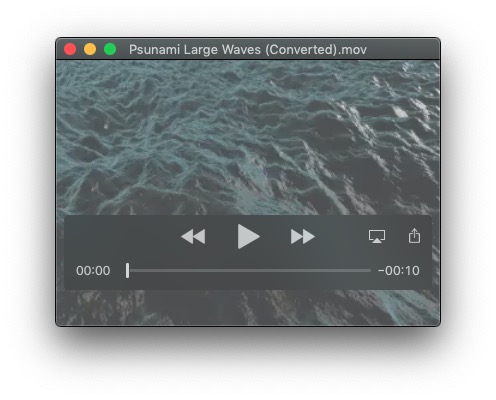
When the file is opened, it will be renamed “Something-something (Converted).mov”.
Save the Newly Converted File
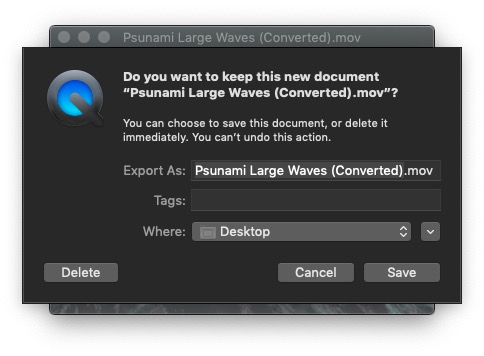
Command S, or Save from the File Menu will allow you to save the newly converted file to a location of your choice.
If QuickTime Player X Won’t Work…

Some of my files would not open in QuickTime Player X, so I launched them in the older QuickTime Player 7. I was able to open them and then export from there. The steps are similar, Open the File, Choose Export and then select a location.
File Menu: Export…
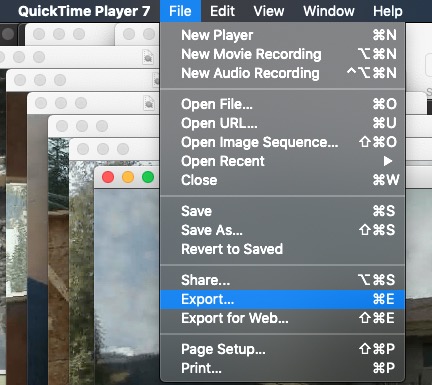
From the File Menu, select Export… option.
Export: Movie to QuickTime Movie
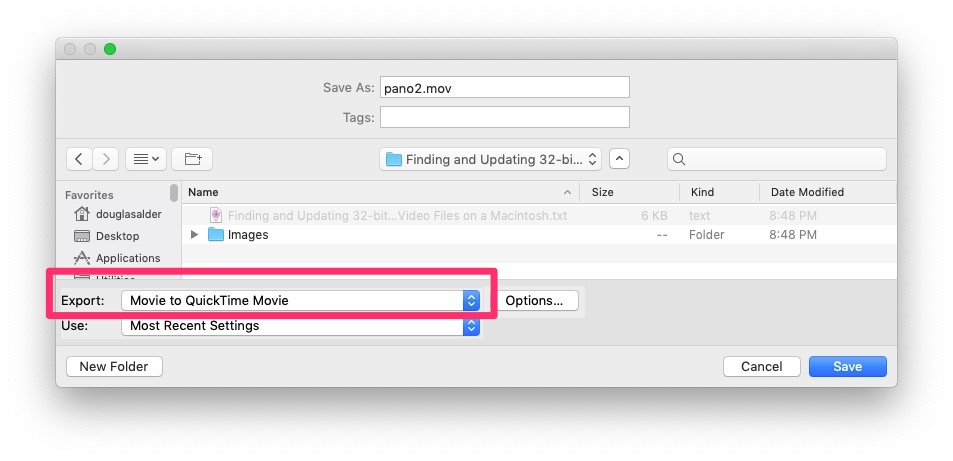
Make sure the Export setting is for “Movie to QuickTime Movie”.
Review the Options
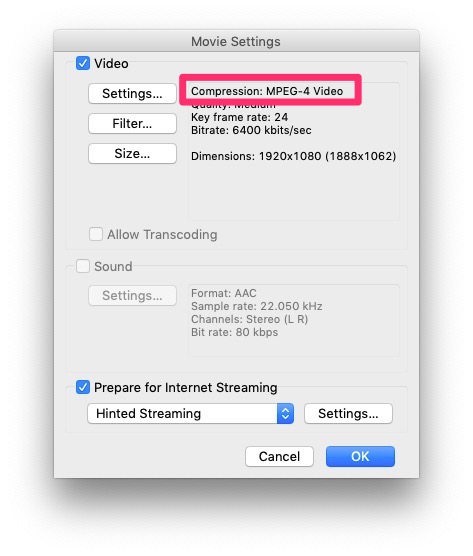
Click the Settings button for more options. The default for me was MPEG-4.
Drilling further into Options
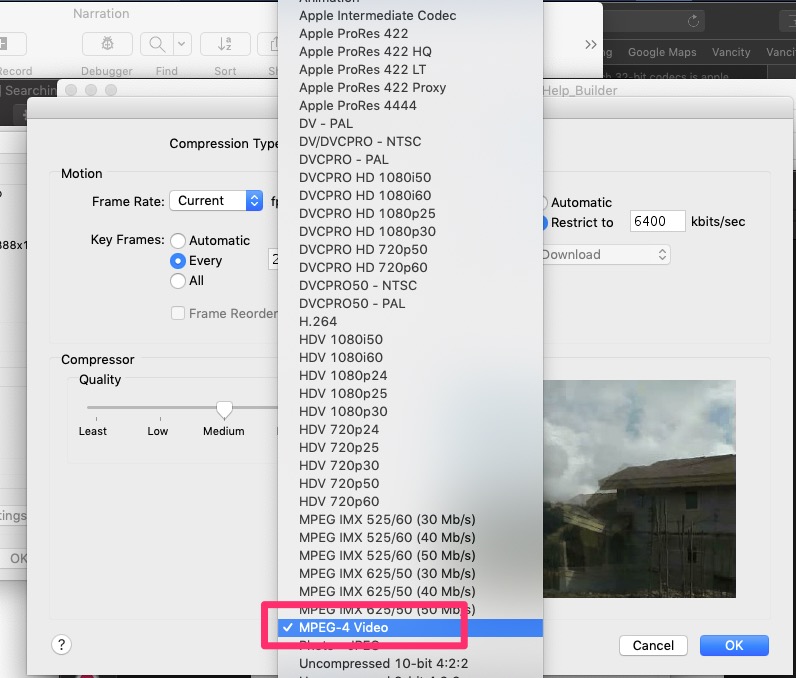
You can select from a wide variety of codec options. I just stuck with the MPEG-4 default.


Comments are closed.